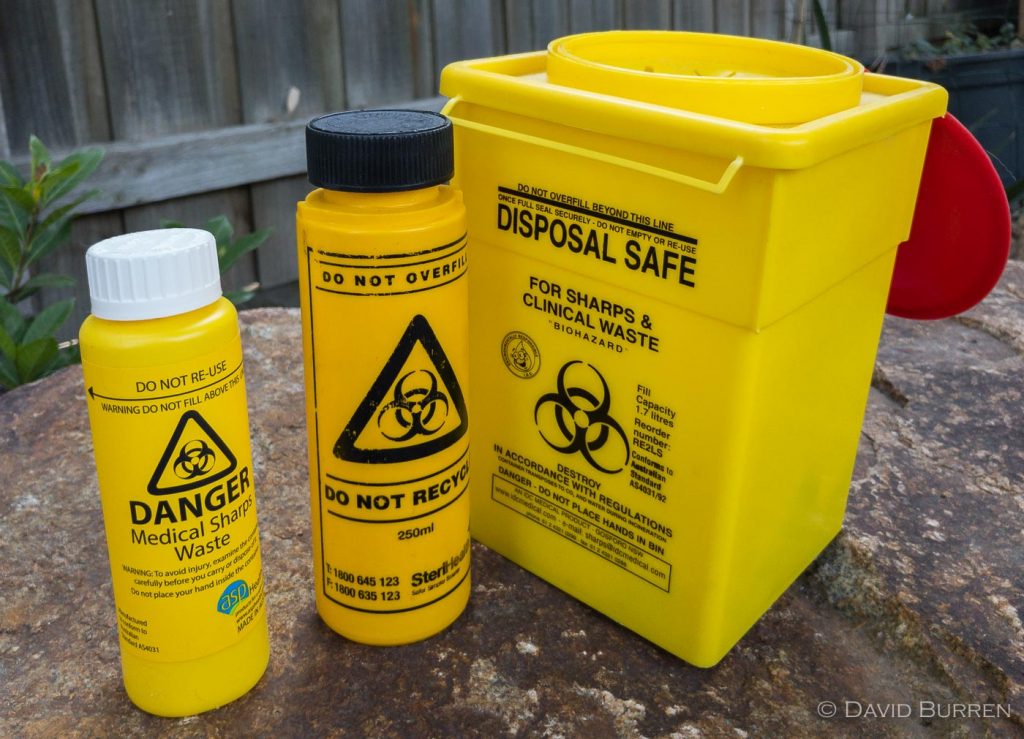
Just a little “show and tell” of some of the “sharps” containers in my house at the moment, and how I use them in managing the sharps produced by my “insulin habit”.
On the right of the above picture is the 1.7 l container supplied by the local council. Back when I was using syringes and then pens, these containers would steadily fill up, but these days with a pump the sharps waste is a lot smaller. That rectangular box will now last me for several years before I have to swap it for an empty one.
In the centre (with the black lid) is the 250 ml container I’ve used for years when travelling away from home for long periods. It lives in my duffle bag and when I get home I simply up-end it into the large container, and re-use it on the next trip. Yes this is contrary to the instructions, but all the sharps are mine, I’m not dealing with contagious diseases, and I’ve decided it’s safe for me to empty it into the larger container. The travel container doesn’t have any fancy one-way doors to make this hard, but it serves two important functions:
- Being robust enough to not spill sharps into my luggage, and
- Being clearly identifiable to any customs inspector going through my luggage at an international gateway, even if they don’t speak English. Otherwise an unfortunate accident might happen.
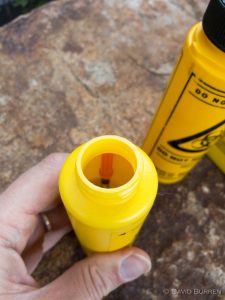
It’s served me well for many years. But on the left (with the white lid) is the 150 ml sharps container I bought this week (for a shocking $1.95). The 250 ml container is never full when I get home, even after months away, and a smaller container will leave a little more room in my luggage. With all the photography and medical equipment I carry on my expeditions, the more space and weight available in my luggage the better! Seriously, the fact that the container is 15 g lighter doesn’t hurt either: little savings like that do eventually add up to extra kilograms.
The 150 ml container is large enough to fit all the sharps I generate. The introducer needle from a Silhouette/Comfort/TenderLink infusion cannula is probably the largest I generally produce, and it just fits through the mouth. I tested, and with a bit of shaking it also comes out by itself when up-ended into the large container.
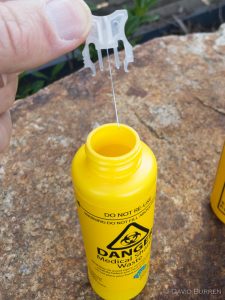
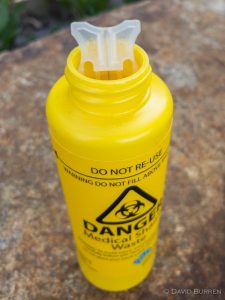
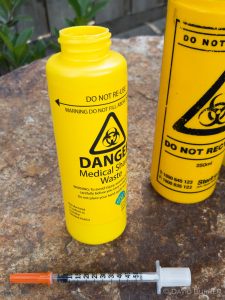
Just in case I end up using a 50U syringe, they fit too.
Pocket Sharps
The size of those Silhouette needles is an issue even when out and about on day trips. The Silhouette or Comfort/TenderLink infusion sets have been my favourite for carrying in my day bag or pouch, as they’re significantly smaller than the Mio/Inset sets with their integrated inserters. But if I have to insert a new cannula when out in the field, what do I do with that long needle afterwards? There’s not even enough room for the 150 ml yellow container in my pocket or day bag.
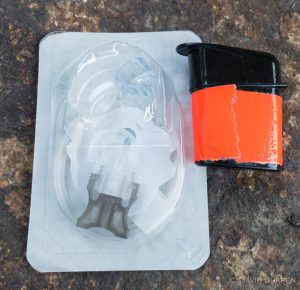
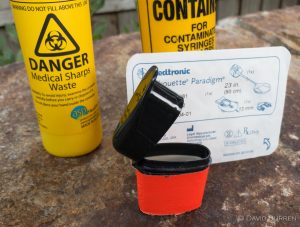
So for this I have an empty container that originally contained test strips for the Accu-Chek Guide meter. I’ve removed the plastic insert, and covered it with bright tape so I know it won’t have test strips in it. This lives down the bottom of the pouch that contains my CGM and other paraphernalia. If I have to get a Silhouette needle safely home, I can bend it in half (it’s only the tip which is sharp) and hide it in this container. As soon as I get back to one of the yellow containers I empty this out again, but in the meantime I haven’t been stabbed in the hip by the used needle!
Mio/Inset sharps
Despite all that talk of the Silhouette infusion sets, I’ve usually been using the Mio or Inset II infusion sets. For information about all these infusion sets, see our article on the differences and similarities. The Mio is larger than the Silhouette, but I find them much more convenient to apply and so close to home I’m usually using these. They don’t take up more room in the sharps bin though.
Once the cannula has been inserted and the housing pulled away from your body, the introducer needle is exposed. If I need to carry the waste home and I’ve got room for it, I simply push the needle to the side and hook it under the white plastic. I then put the cover back on and throw it in my bag. These photos are of an Inset II instead of a Mio, but it’s the same in this regard.
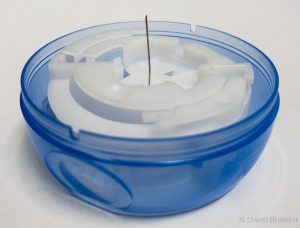
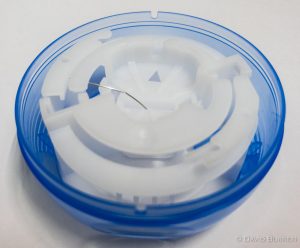
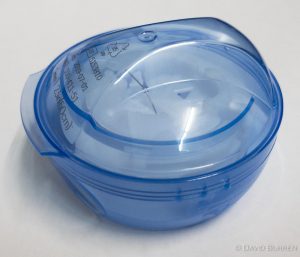
When I get to the sharps container I un-hook the needle, and simply pull it out with a small set of pliers, drop it into the sharps container, and dispose of the rest. Of course, I’ll sometimes do this immediately and put the needle in the black-and-orange container shown above…
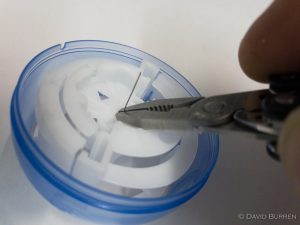
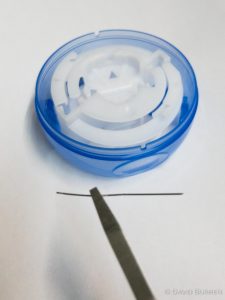
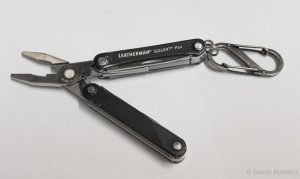 Incidentally, the pliers I have in my travel kit are a small Leatherman utility tool. It’s the one thing that I’m usually carrying but have to transfer to my checked luggage before entering airport security!
I don’t like to use nail-clippers for this, as it’s all too easy for the broken needle to fly off into the unknown (whether it’s the carpet or your clothes) from where it will probably be found in the worst possible way.
What about other options?
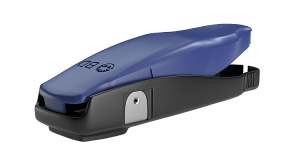 There are yet more options. I haven’t used these, but Becton-Dickinson make a neat device that clips off needles and keeps them inside (the BD Safe-Clip). However it only handles needles from 28G-31G. Most of our infusion set needles are 27G, which means they’re too thick for this clipper to cope. Needle gauges are discussed in another article on this site.
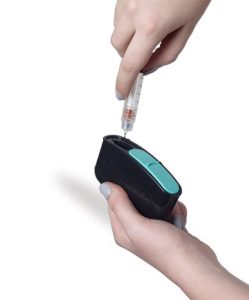 As another example you can see here the MySharps container. I might experiment with that one day, but for now I’ve shown you the tools I use to deal with my sharps waste, along with explanations of why.
Hopefully this may help you decide how to deal with your own sharps waste!

The garbage folks & diabetics determined diabetic & other home generated sharps are exempt from sharps container rules by FEDERAL (USA) Law.
What is the reason this law is not applied in your comments about sharp containers?
Probably because I don’t live in the USA.
Australia has its own laws.